src
![]()
📚 Description
![]()
![]()
![]()
![]()
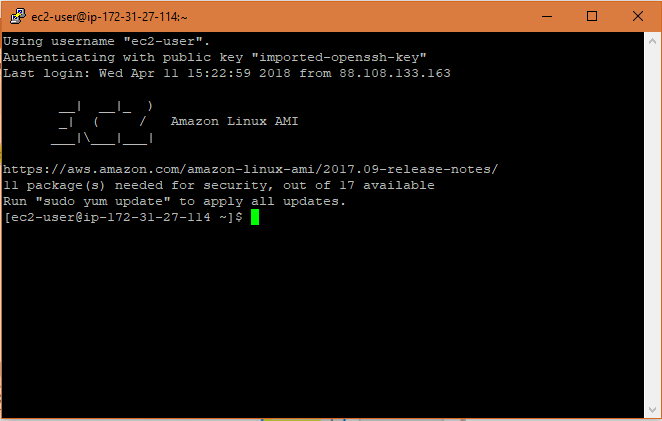
This package contains scripts and executables needed for you to access/control a remote computer via a desktop Graphic User Interface (GUI). Most development servers are terminal based without screen forwarding capabilities. This presents a problem if the user needs to use GUI based applications on the remote server. This repo provides code and instructions on how to setup a proper screen forwarding solution between host and clients.
The script will perform the following processes:
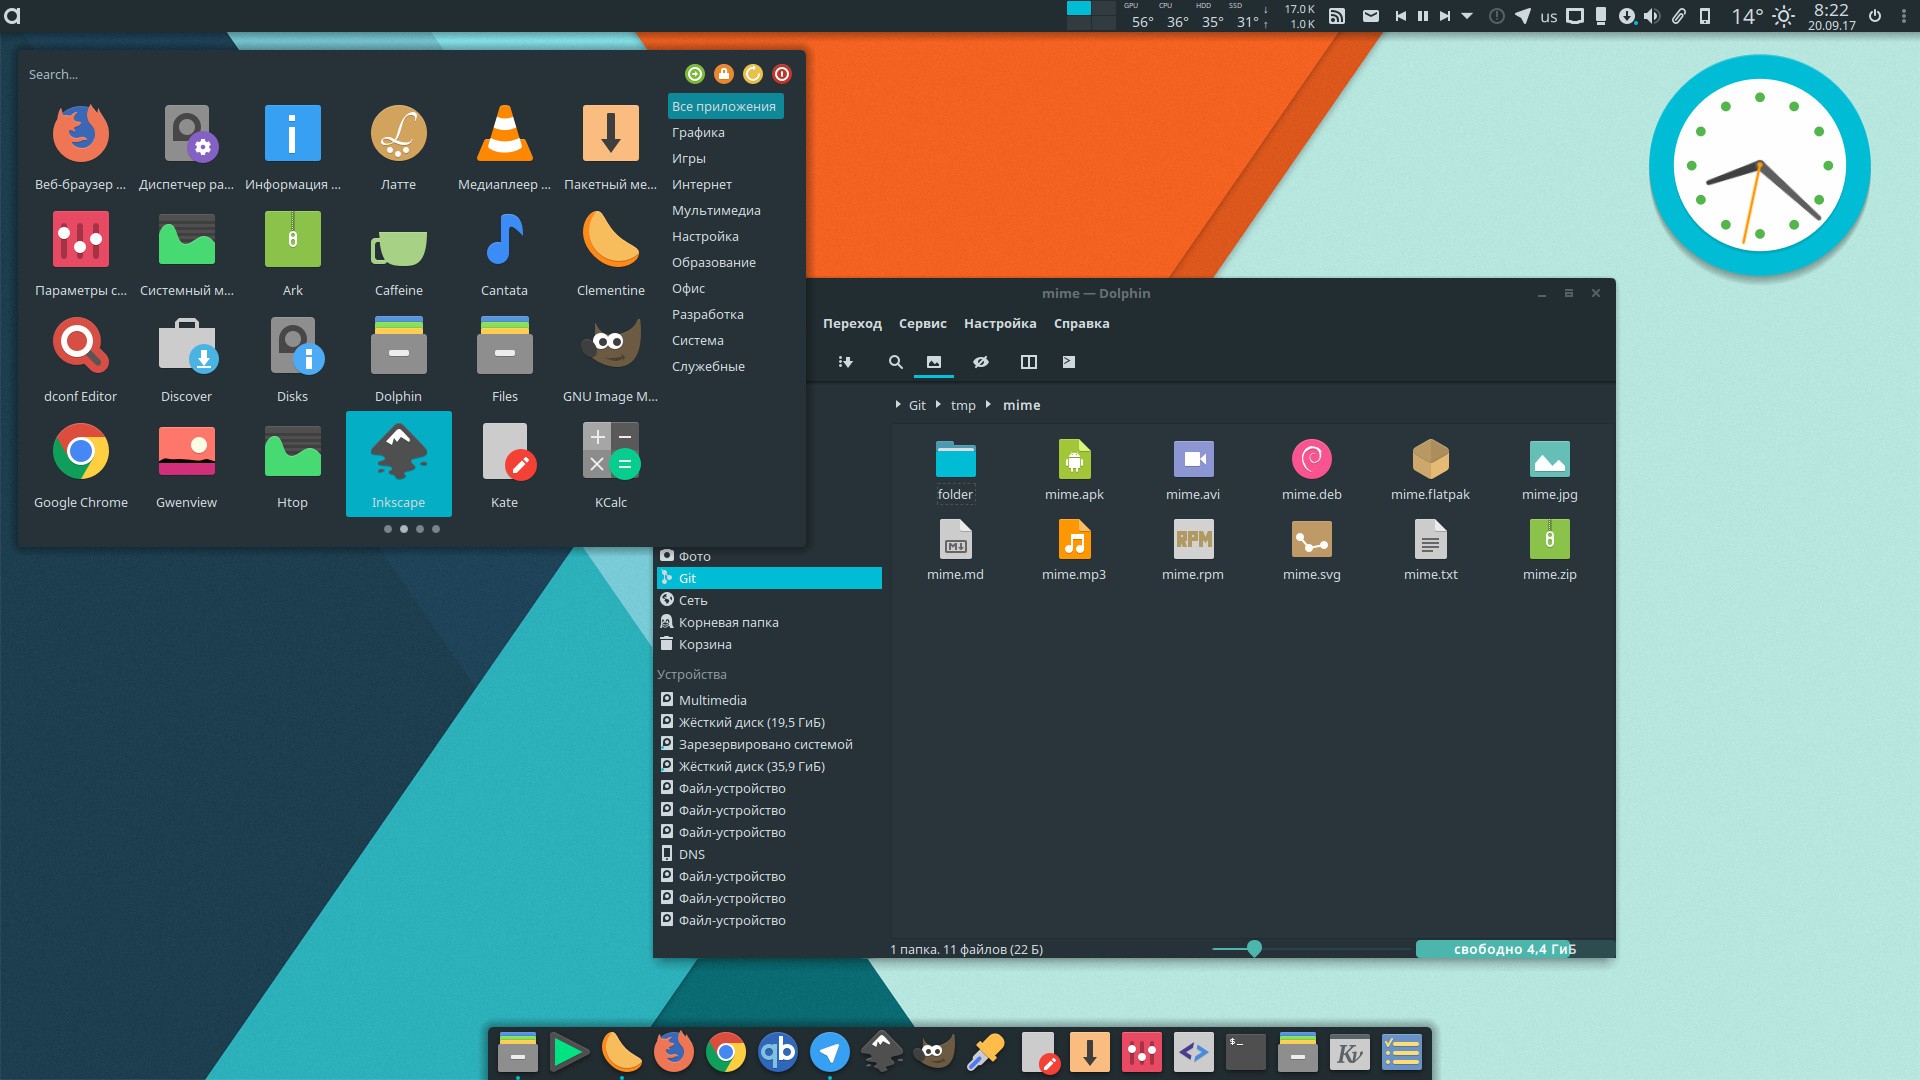
- Setup a virtual desktop environment on the server.
- Setup a forwarding server that will broadcast displays to clients.
- Setup a client that can interact with the server over SSH.
🛠️ Installation
Server Instructions
1.) Run the setup-server.py script.
$ python setup-server.py
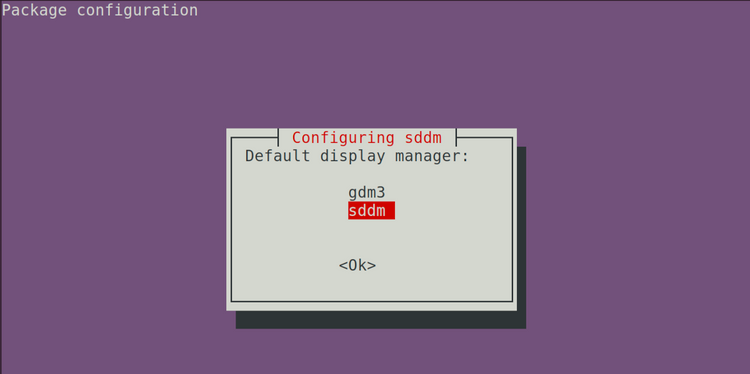
Fig.3 - During the installation process a screen will pop up asking what display manager you want to use. Select `sddm`.
Note: You will be asked to setup a login password. This is not your username login password. Rather it is a password to log into the viewer for Tiger VNC. As a default you can enter
ubunutu.Client Instructions
Note: Install Homebrew on your client (local machine) if you do not already have it!
1) Download and install the TigerVNC binary (not the source code!). 2) Place TigerVNC app in the ~/Applications/ folder. 3) Remember to allow access by opening it with Ctrl-Click.
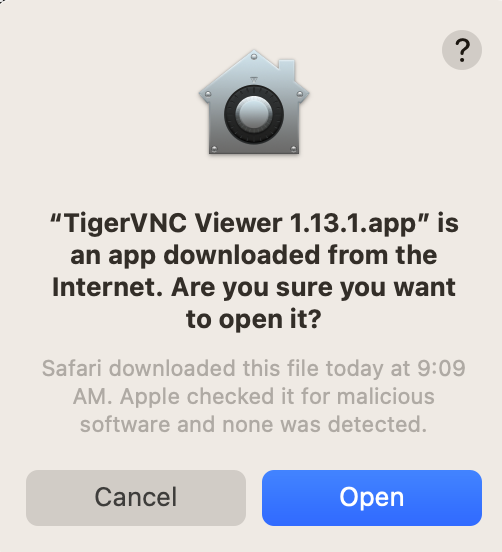
Fig.4 - Select Open.
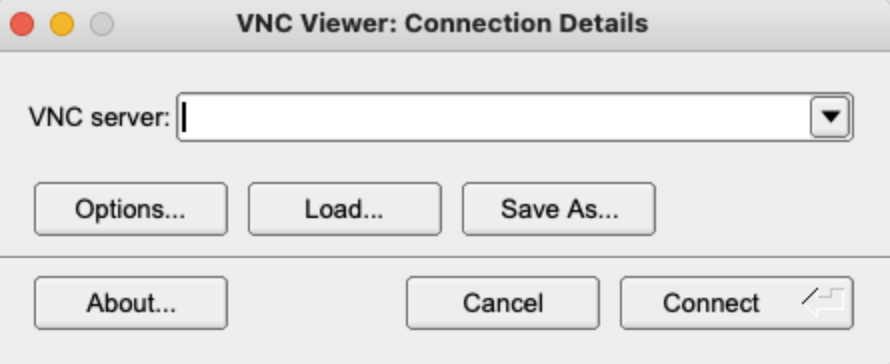
Fig.5 - You will see this window if it successfully opens.
1) Modify the setup-client.py variables to match your configuration settings.
# ------------------------------------------------------------------
# FILL OUT PRIOR TO RUNNING THE SCRIPT!
# ------------------------------------------------------------------
# setup required
SERVER_USER = "ubuntu"  # enter your userid here
SERVER_IP = "xxx.xx.xx.xx"  # the address to the server
SERVER_LOCAL = "127.0.0.1"  # leave this as default to use localhost
CUSTOM_ALIAS = "vnc-devbox"  # the custom alias you want for connecting
5) Run setup-client.py
$ python setup-client.py
👨💻 Use
After the installation completes, you will be provided an alias called vnc-devbox that is added to your .bashrc and .zshrc startup files.
alias vnc-devbox="ssh -L {TIGERVNC_PORT}:{SERVER_LOCAL}:{TIGERVNC_PORT} {SERVER_LOGIN}" # Sets up **SSH** between the local client and the host.
1) Execute the alias command.
$ vnc-devbox # opens a SSH terminal to the host
2) Startup a session on the host.
$ vncserver # will use the settings in ~/.vnc/xstartup

> New Xtigervnc server '<hostname>:1 (userid)' on port 5901 for display :1.
> Use xtigervncviewer -SecurityTypes VncAuth -passwd /home/userid/.vnc/passwd :1 to connect to the VNC server.
3) You will see a TigerVNC session up after success.
$ vncserver -list

TigerVNC server sessions:

X DISPLAY # RFB PORT #  RFB UNIX PATH   PROCESS ID #    SERVER
1           5901                        3423510         Xtigervnc
5) If you execute a tunnel via the alias command then startup the client TigerVNC app and enter the following address:
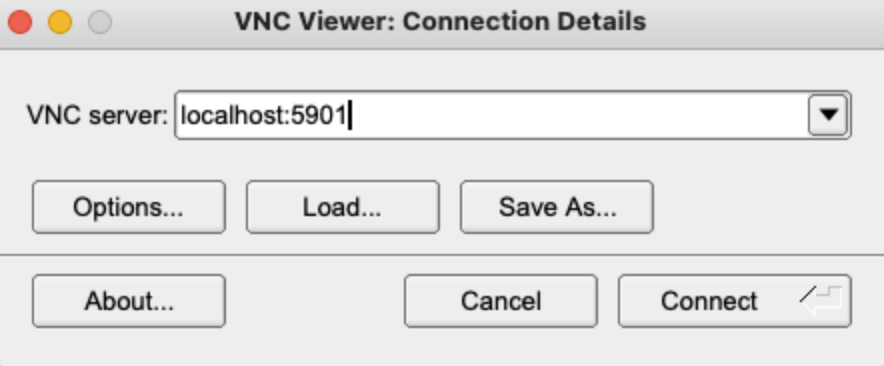
Fig.6 - The reason we are entering the address as localhost:5901 is because the SSH command has bounded the host address to that local address.
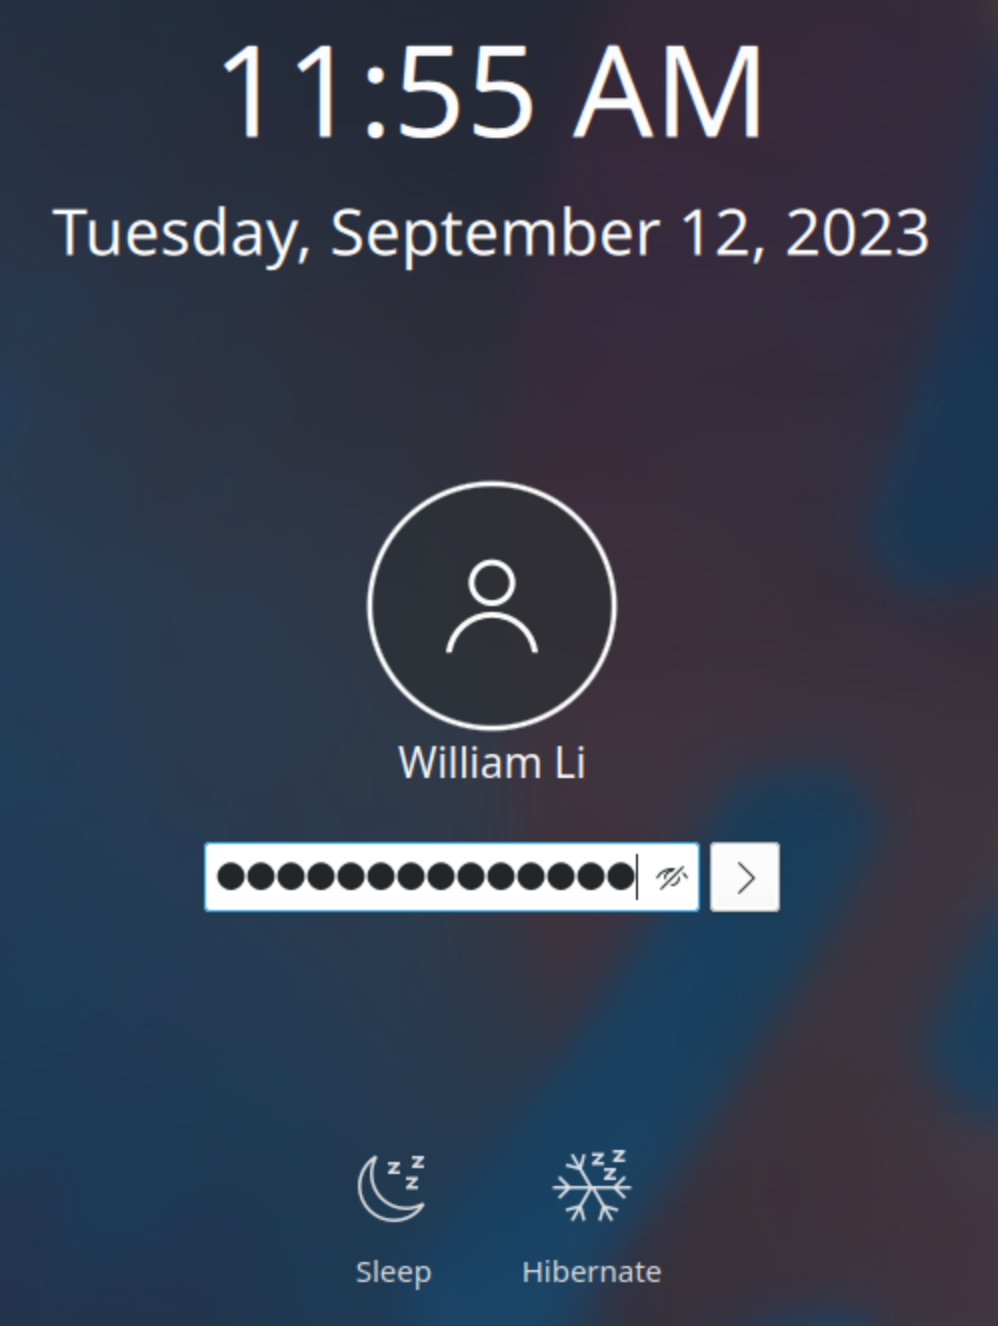
Fig.7 - You need to enter your standard user password to log into the computer.
🏃♂️ Speed Optimizations
For best performance set the following options by entering F8.
- Preferred Encoding: Tight
- Custom Compression Level: 1
- Allow JPEG Compression: 5
🔧 Troubleshooting
To kill the sessions log into the server and execute:
vncserver -kill :*
If you have trouble with the display check the xstartup script. You may need to modify the script use a display that is compatible with your host and client.
#!/bin/sh
 unset SESSION_MANAGER
 unset DBUS_SESSION_BUS_ADDRESS
 #startkde &
 startplasma-x11


 [ -x /etc/vnc/startplasma-x11 ] && exec /etc/vnc/startplasma-x11
 [ -r $HOME/.Xresources ] && xrdb $HOME/.Xresources
 xsetroot -solid grey
 vncconfig -iconic &
If you need access to the Snap Store:
# Setup Snap Store
snap set system proxy.http="<proxy_address>"
snap set system proxy.https="<proxy_address>"
If you have trouble opening Firefox make sure Xauthority is set:
export XAUTHORITY=$HOME/.Xauthority
If you need a proxy for the wget configuration file at /etc/wgetrc.
 # You can set the default proxies for Wget to use for http, https, and ftp.
 # They will override the value in the environment.
 https_proxy = <proxy_address>
 http_proxy = <proxy_address>
 ftp_proxy = <proxy_address>

 # If you do not want to use proxy at all, set this to off.
 use_proxy = on
 7def admonitions():
 8    """
 9    ```
10    .. note/warning/danger:: Optional title
11        Optional text
12    ```
13
14    .. note::
15        Hi there!
16
17    .. warning:: Be Careful!
18        This warning has both a title and content.
19
20    .. danger::
21        Danger ahead.
22    """
.. note/warning/danger:: Optional title
    Optional text
Hi there!
Be Careful!
This warning has both a title and content.
Danger ahead.